TABLE OF CONTENTS
Who can access these settings?
Compliance Admin Only - Settings are configured by users with the Compliance Admin role.
Navigating to the settings
The First AML platform, Source, empowers users with customisable settings with customisable settings to personalise their experience. The Compliance Admins have the ability to configure various aspects such as screening preferences, email notifications, branding elements, risk assessments and office information to suit their requirements.
Just click on settings on the left hand navigation and you'll see the settings page broken up into three sections: Your compliance program, Communicating with your customer and Manage your team

Your compliance program
Custom Forms
Create and manage Risk Assessments & custom forms to collect additional information during the verification process, such as enhanced due diligence questions or internal risk assessments. These forms can be tailored to your organisation’s policies and client types.
Learn more about setting up Custom Forms
Requirements
Requirements define the documents and information your team needs to verify each client or entity. Customising these ensures that cases are created with everything required to meet your compliance standards.
Read more about managing Requirements
Compliance Rules
Compliance rules determine how Source automatically applies requirements based on case conditions such as entity type, jurisdiction, or risk level. This ensures a consistent and efficient approach to CDD across your business.
Explore Compliance Rules in detail
Profile Rules
Profile Rules allow you to automate the review process for individual profiles. If you've used Compliance Rules before, this will feel familiar. The key difference is the target: while Compliance Rules act on specific cases, Profile Rules act directly on the Individual and Entity profiles in your left-hand navigation.
Explore Profile Rules in detail
Automation Rules
Automation rules allow you to streamline repetitive actions within your workflow. These can automatically update case statuses, run verification checks, perform KYB (Know Your Business) unwraps — automatically mapping a business's ownership structure to reveal its ultimate beneficial owners — or trigger next steps to improve efficiency.
See how to use Automation Rules effectively
Document Reader
The Document Reader automatically extracts key details from uploaded documents, such as Trust Deeds or Certificates of Incorporation, to speed up data entry and reduce errors.
Find out how to configure the Document Reader
Ongoing
Set and manage your ongoing monitoring preferences, including CDD refresh schedules, ID expiry checks, and continuous watchlist screening.
Learn more about Ongoing Monitoring settings
More about CDD Refresh
Read here for ID Expiry
Screening Profile
Your screening profile defines which lists and data sources are used when performing watchlist and adverse media checks. It ensures that screening aligns with your organisation’s AML obligations.
View how to manage your Screening Profile
Communicating with your customers
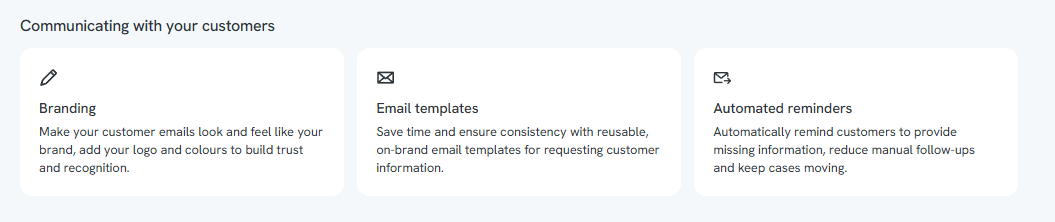
Branding
Customise your Source branding to reflect your company identity. You can upload your logo, choose brand colours, and ensure all customer-facing touchpoints match your business look and feel.
Learn how to update your Source branding
Email Templates
Configure and personalise the emails your clients receive during the verification process. Templates can be adjusted to include tone, contact details, and custom instructions.
See how to manage Email Templates
Automated Reminders
Automated reminders—also known as Follow Ups—help you maintain progress by automatically contacting clients who haven’t completed their verification. You can choose the timing, frequency, and tone of these messages.
Learn more about Automated reminders
Manage my team

Notifications
Manage how your team receives alerts about case updates, completed verifications, or changes in risk. Notifications can be tailored to be in the platform or via email.
Learn more about Notification settings
Offices
Set up and manage your office set up within Source to ensure the right compliance rules, requirements, and team access apply for each jurisdiction. Office isn't just location, this can be practise group, client type or more.
View how to manage Offices in Source
Integrations
Connect the First AML platform to the tools your team already uses. Integrations help you trigger cases, sync data, and reduce double-handling.
Learn more about our integrations here: