TABLE OF CONTENTS
Summary
This article runs through how to review screening results as an individual is verified.
For further information on the different verification settings please see this article
Please note there is a billable charge for each individual screening. Please contact support@firstaml.com for further information on costings.
How to review results
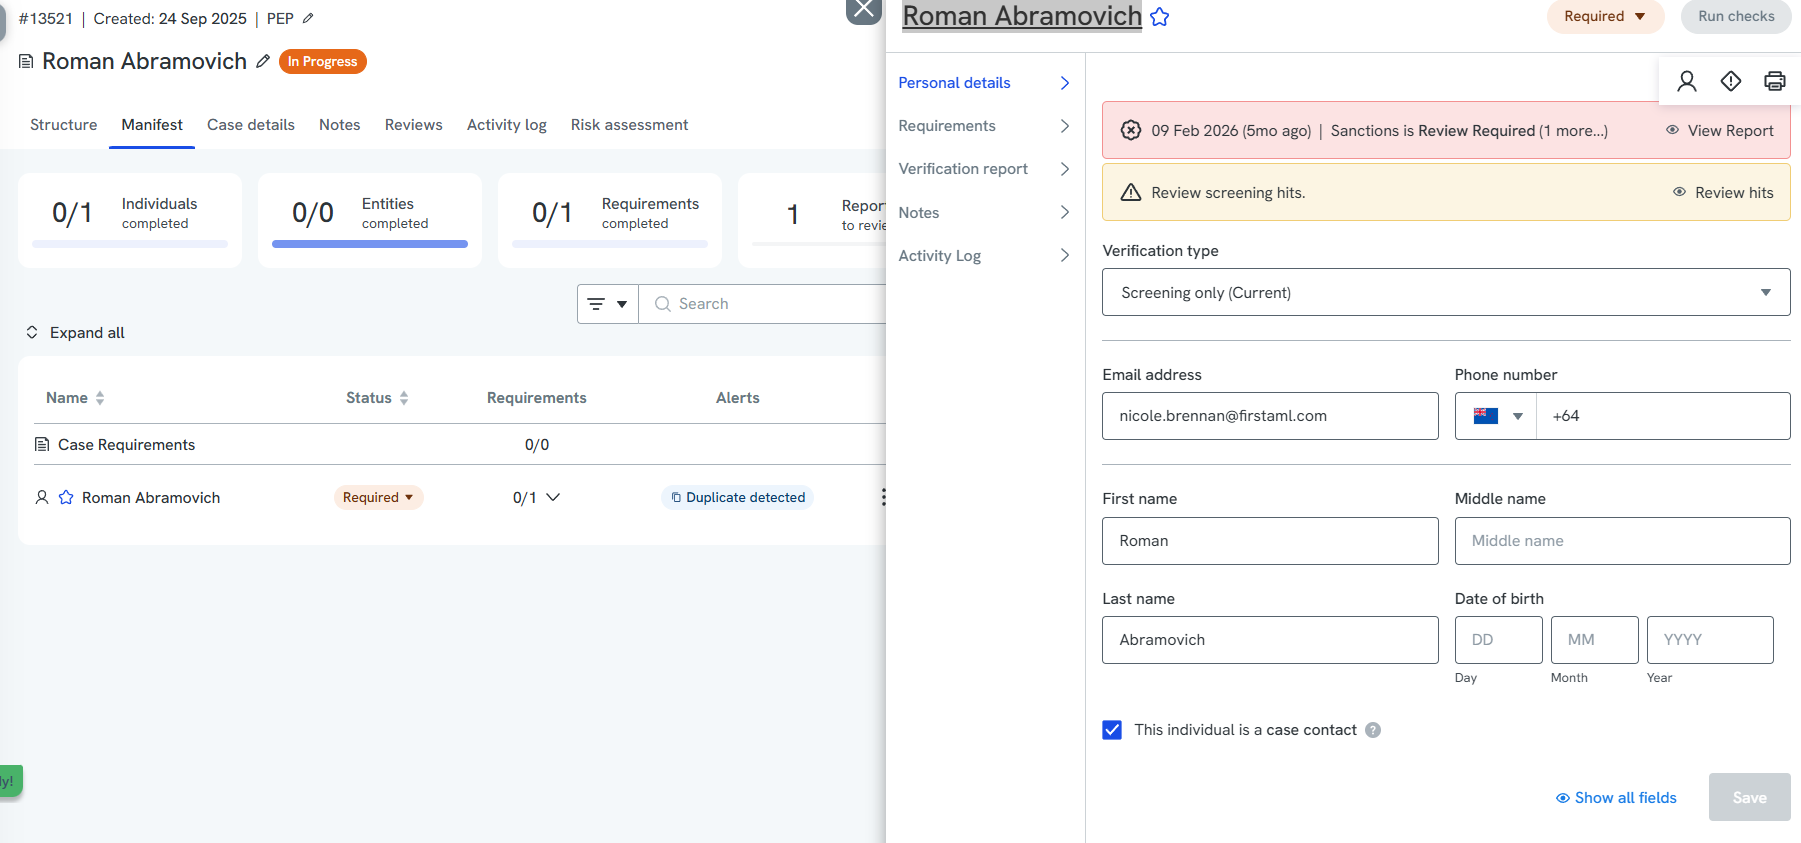
Go to the Manifest tab and expand the individual you want to review.
The Screening report requirement shows Completed when there is nothing to review, or an alert summary in red when there are hits to check, for example "Sanction hits +2 more".
To open the report, select requirement to review the results.

To review hits, click ‘Review hits’. This will take you directly to the screening report for the individual. You can review the hits from this page. The default status of each hit will be ‘Review required’.
Alternatively, you can navigate to the screening report by clicking on the Individual name and then clicking into the Verifications tab:
Scroll to the screening section, and click "View screening report" to view the screening matches.

What do the Screening Categories mean?
PEP - A politically exposed person is an individual who has been entrusted with a prominent public function and potentially presents a higher financial risk due to the influence they may hold.
Adverse Media - Any negative information on an individual or entity discovered across various sources, i.e. reputable news or other publications linking the individual or entity to involvement in corruption, money-laundering, terrorism/threat financing and other unlawful activities.
Sanctions: Lists imposed by governments and international organisations to alter the decisions of other actors (state and non-state) who burden their interests and breach international norms. Sanctioned entities are statutorily banned from doing business in or with the jurisdiction imposing the sanctions.
Warnings: Lists issued by law-enforcement or regulatory bodies. Entities on such lists are either involved in law-breaking activities at international level or in particular jurisdictions, under investigation or found guilty of regulatory breaches in their operating industry, which may indicate a significant financial, compliance, or reputational risk for our customer.
Fitness & Probity: Lists of individuals and legal entities which have been disqualified or otherwise restricted from holding certain positions or participating in certain activities such as publicly-funded contracts due to regulatory or code of conduct breaches.
Where to review and record your decision
Within the screening report for the individual, you can see basic information about the screening status. You will be able to view the potential matches and the reasons for the match.
Through this, you can leave any notes and change the statuses for PEP, sanctions and adverse media of the individual to no match, match or possible match.
For audit purposes, the match remains unchanged, but there is flexibility to add notes reflecting your decisions.

You can click on each match to display the sources of their match and any additional information. The underlying sources will appear in a slideout to the right.

To record your findings, click the Edit button to the right of the screening header. This will open up a pop-up within the page.
You can set the status for each section (No Match, Possible Match, Match) and add notes around the match as well. Click Save to save your decisions.

To review each hit, click the individual hit to see the key information and background sources. The platform will provide hyperlinks to the original data source and a snippet of the screening information e.g. a link to the news article. You can also edit the match status for each hit and set the status to Review required, False Match, True Match and Possible Match.
If you wish to record any decisions or internal notes, click ‘Expand review details’ at the top of the module to leave any notes. This will record the name of the reviewer and the last review date. Click ‘Save note’ to save the note.

Advanced Risk Screening Tool
How it works
Advanced Risk Screening runs alongside your existing Adverse Media search to catch things that standard screening can miss.
Adverse Media focuses on categories aligned with FATF's guidance. Advanced Risk Screening goes broader, picking up court proceedings, criminal filings, and content behind paywalls like the SMH.
This tool uses OpenAI to search for additional matches to add to your screening results, and has been tested extensively to ensure Al false positives and duplicates are filtered out before being added to your report. If you'd like to know more, reach out to your Customer Success Manager or our Support Team.


Key Dates & Pricing
To ensure everyone has access to these high-precision tools, the new logic will be integrated into the platform starting 1 May.
Launch Date: 1 May 2026
Pricing: 0.25 unit consumed per search.
Access: This applies to all users, including those currently on a trial period.
Note on Setup: For the duration of the current Proof of Concept (POC), these features will be optimized behind the scenes. Following the official release, you will be able to manage these preferences directly via your Settings page. (see above screenshot).
We are dedicated to providing the most reliable screening data in the market, and these improvements represent a major leap forward in accuracy and global coverage.
How to Whitelist Matches
If you have ongoing monitoring enabled, the Monitoring enabled toggle will control whether ongoing monitoring updates for this hit will be considered in future.
To ensure the relevance of ongoing monitoring, each hit can be opted into or out of ongoing monitoring. This helps to reduce noise from false positive hits and ensures that you only receive alerts for relevant updates.
All hits will be defaulted to “monitoring enabled”. Setting a hit as a False Match will automatically change this to exclude the hit from monitoring. This can be overridden by the user.
If an ongoing monitoring alert is received for a hit, we will first check the monitoring decision for the hit before creating a monitoring alert.

How to filter Matches and Hits
Results can also be filtered to help make searching and decision-making easier when there are a large number of results.
You can filter by the following categories:
- Status: False Match, True Match, Possible Match, Not Reviewed
- Categories: Sanction, PEP, Adverse Media
- Notes: Has notes, Does not have notes.
To use the filters click the Filters icon to the right.

How to make Bulk Screening Decisions
To help clean up / manage large numbers of results (that are likely false positives), we have a bulk mode that can be enabled via the Bulk mode button.
When enabled, this will allow multiple hits to be selected and reviewed at once. You can select multiple or all of the hits at once and set the match status for all the hits from Review required to False Match, True Match or Possible Match. You can add a note to the bulk decisions, this note will be recorded against each hit.
Bulk mode also allows you to determine whether the selected hits should be enabled or opted out of ongoing monitoring.

How to add an exception
If you need to make any exceptions, you can also do so by clicking the Add exception button (top right of the individual).
Here you can add temporary or permanent exceptions. Add your reason for granting the exception and click 'Save exception'.
Please note this information is reportable.

You can choose between adding a permanent or temporary exception
Add your reason for granting the exception and click 'Save exception'.
This information is reportable.
How to download screening results
To download individual screening results, navigate to the relevant individual then click the printer icon at the top right hand side of the screen.
Once the print window has opened, change the destination to 'Save as PDF' then click Save.
1.

2.
